
A fresh layer of snow brings endless possibilities: sledding, snowmen, snowball fights (not at IMSA though!), and best of all, snow angels.
For the past 17 years, I’ve made over 100 snow angels. Over time, I have learned the perfect technique behind creating a snow angel, and I’m here to share it with the world.
Step 1: Find a patch of snow!
This is the most important step because without snow you can’t make a snow angel. The best type of snow to use is freshly-fallen, fluffy snow!
Sadly, the snow currently on IMSA campus may not be the best to use:

However, even though there currently isn’t any snow, you can still make a spiritual snow angel! Although it won’t leave an imprint on the ground, you know it will be there in spirit!
Here are a few location ideas:
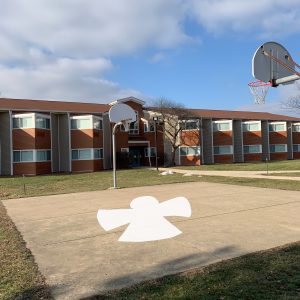
- The basketball court between 03 and 04!
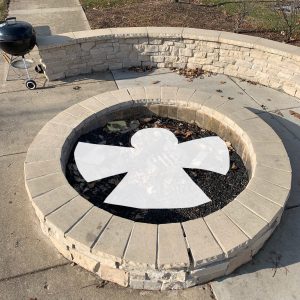
- The fire pit by the 05 Slabs (must have a wingspan and height of less than 5’6!)
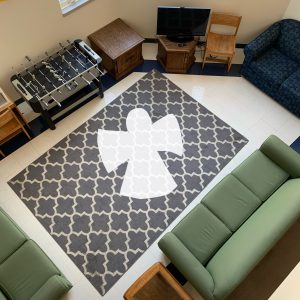
- Your wing commons
Step 2: Lie flat on the ground on your back
Once you find the perfect location for your snow angel (or spiritual snow angel), you’ll want to lie flat on your back. You could lie on your front, but that may be a slightly messier option.
Step 3: Swing your arms and legs back and forth
Start with your arms and legs against your side, like so:
Then raise your arms upwards to about 120° and your legs around 120° apart:

When you first start making snow angels, you may want to bring a protractor outside so you can ensure the snow angles for your snow angels are perfect!
Now, go out there and make the perfect snow angels! :^D


Be the first to comment on "Snow Angel Making 101"